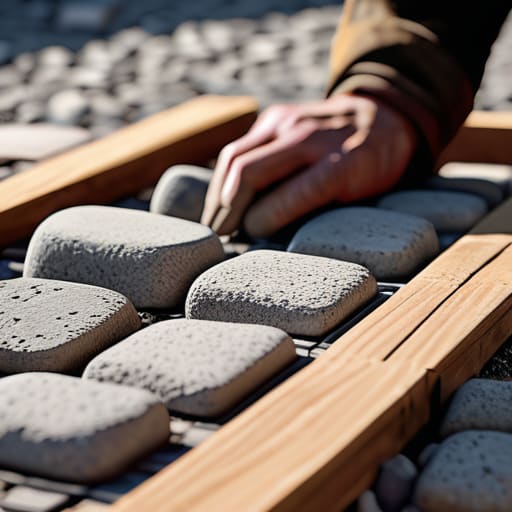
I’ve lost count of how many times I’ve stood on a site, watching a lad stare at a clipboard with a look of pure panic because the last pallet of stone just ran out ten yards short of the finish line. Most people think they can just measure the length and width, multiply them, and call it a day, but that’s a fast track to a headache and a massive bill. If you’re trying to figure out how to estimate paving quantities by only looking at the surface area, you’re doing it wrong. You aren’t just ordering pretty stones; you’re ordering a system, and if you haven’t accounted for the depth of your sub-base or the inevitable waste from cutting edges, your math is nothing more than a expensive guess.
I’m not here to give you some fancy spreadsheet or a theoretical lecture that only works in a classroom. I’m going to tell you how we actually did it on my gangs—the way that ensures you aren’t left staring at a half-finished driveway with an empty truck on the horizon. We’ll talk about the real numbers: the sub-base volume, the bedding sand, and the waste factor that every rookie forgets. I’ll show you how to calculate it so you can finish the job without begging for more credit from the supplier.
Table of Contents
The Hidden Math of Sub Base Depth Calculation
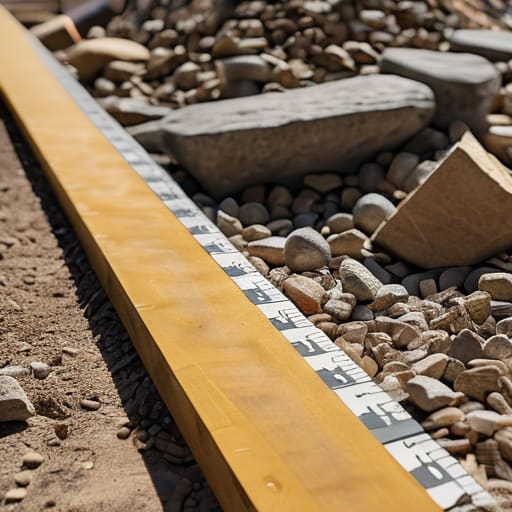
Now, listen close, because this is where most lads go wrong. They look at the finished surface, do their math for the pavers, and think they’re sorted. But if you haven’t nailed your sub-base depth calculation first, you aren’t building a patio; you’re building a future headache. You can’t just measure the surface area and call it a day. You’ve got to account for the depth of your MOT Type 1 or whatever aggregate you’re using, and you’ve got to remember that once you start compacting that stone, it’s going to shrink. If you calculate your volume based on the loose state, you’ll be standing there staring at an empty pile of gravel with a half-finished sub-base and a very unhappy client.
I’ve seen too many “quick” jobs fall apart because someone skimped on the sand and gravel volume estimation. You need to calculate the volume for the stone, then add a bit extra for the bedding layer, and then—and this is the bit everyone forgets—you have to factor in the compaction. If you don’t account for that loss of volume during the rolling, your paving project cost estimation is going to be a complete work of fiction.
Why Sand and Gravel Volume Estimation Ruins Your Budget
Listen, I’ve seen more jobs stall out because of a missing load of MOT Type 1 than I have because of faulty pavers. People get so obsessed with calculating paver square footage that they treat the stuff underneath like it’s just filler. It isn’t. If you’re doing your sand and gravel volume estimation based on a flat, perfect mathematical plane, you’ve already lost the plot. You aren’t pouring on a sheet of glass; you’re pouring on earth that has dips, swells, and varying compaction levels.
If you don’t account for that extra bit of depth needed to level out a wonky sub-grade, you’ll be staring at a half-finished bed with an empty skip and a very angry supplier. You need to build in a proper paving material waste factor—and I’m not talking about a measly 2% just to look professional. I’m talking about enough to cover the compaction loss when that roller hits the stone. If you skip the extra volume now, you’ll be paying double in delivery fees later just to patch a hole.
Stop guessing and start measuring: 5 ways to stop your materials list from lying to you
- Account for the compaction factor, or prepare to pay for a second delivery. You can’t just measure the hole and call it a day; when you run that MOT Type 1 through a plate compactor, it’s going to shrink in volume. If you don’t add at least 20% to your aggregate math to account for that settling, you’ll be staring at an empty sub-base with a half-finished job and a very expensive phone call to the supplier.
- Factor in the “waste and breakage” margin before you place the order. I’ve seen too many lads order the exact square meterage of slabs and then realize halfway through that three arrived cracked and five had to be cut to fit a corner. Add 5% to 10% for cuts and breakages—it’s cheaper to have a few spares left over than to pay a premium for a single pallet of matching stone on a Friday afternoon.
- Don’t forget the bedding layer depth in your vertical math. People get so caught up in the surface area of the paving that they forget the depth of the mortar or sand bed underneath. If you’re calculating your sand volume based on a 25mm bed but your ground is slightly uneven and you end up needing 40mm to level it out, you’re going to run short before you’ve even reached the edge of the patio.
- Check your edge restraint quantities twice. A paving job isn’t just the stones; it’s the kerbs, the edging, and the haunching that keeps it all from migrating. If you haven’t calculated the linear meters of edging and the extra concrete needed to pin those edges in place, your material costs are going to balloon once the actual work starts.
- Measure the actual site topography, not the blueprint. A flat drawing doesn’t show you the slight dip in the corner of a garden or the slope toward a drain. If you’re working on a gradient, your sub-base depth is going to vary, and that means your volume of stone and sand is going to be higher than a simple area calculation suggests. Always measure the actual ground, not the paper it’s printed on.
Don't Get Caught Short at the Finish Line
At the end of the day, estimating your quantities isn’t just about measuring the length and width of the patio or the driveway. If you haven’t accounted for the compaction of your sub-base, the specific depth of your sand bed, and a healthy waste factor for the pavers themselves, you’re just asking for trouble. I’ve seen too many lads standing around with an empty pallet and a half-finished slab because they thought they could “make do” with what they ordered. You have to calculate for the ground you’re actually building on, not the perfect version you’ve got in your head. Remember: measure twice, order once, and never, ever forget the depth of what’s underneath.
Look, anyone can pour a surface, but it takes a proper tradesman to plan a job that actually lasts. Estimating might feel like a headache compared to the actual physical work, but it’s the difference between a professional finish and a costly, amateur mistake that leaves you digging up your own work six months later. Take the time to do the math properly. When you get the quantities right, the pour goes smooth, the budget stays intact, and you can actually take pride in the foundation you’ve laid. Now, get off the computer and go check your sub-base levels.
Frequently Asked Questions
How much extra should I actually order for the "waste factor" so I'm not left staring at a gap in the driveway when the last pallet arrives?
Look, if you’re ordering exactly what the math says, you’ve already lost. You’ve got compaction, you’ve got uneven ground, and you’ve got the inevitable bit that gets spilled or lost in the pile. For pavers, I always tell my lads to add 10% for cuts and breakage, but for the sub-base? Add 15%. If you don’t account for that extra volume getting squashed down, you’ll be staring at a gap in the driveway with an empty wallet.
If I'm working on a slope or a driveway with a pitch, how do I adjust my sub-base calculations so I don't end up with a thin, cracking mess at the bottom?
Listen, if you’re working a pitch, you can’t just measure the surface and hope for the best. Gravity doesn’t care about your spreadsheet. You need to calculate your depth based on the lowest point of the run, not the average. If you skimp on the thickness at the bottom of a slope to save a few quid on MOT Type 1, that’s where the ground will shift and your paving will snap like a biscuit. Calculate for the deepest part, or don’t bother pouring at all.
Do I need to calculate my jointing sand and grout separately, or is there a standard rule of thumb that won't leave me short?
Don’t go looking for a “rule of thumb” here; that’s exactly how you end up staring at an empty pallet while your joints are still gaping. You calculate them separately. The sand for the bedding layer and the grout for the joints are two different beasts with different consumption rates. If you try to lump them together, you’ll either over-order and waste money, or more likely, you’ll run short right when the job is nearly done.



