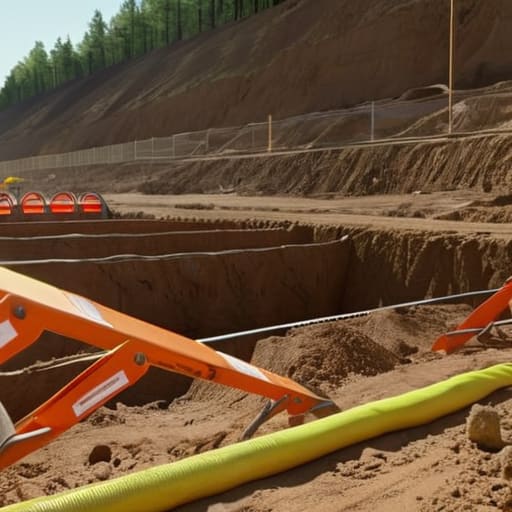
I’ve spent forty-three years watching men pour thousands of pounds of concrete into what was essentially nothing more than a glorified mud puddle, all because they thought a “complete guide to ground bearing slabs” was just about the mix design and the finish. I remember standing on a site in ’94, watching a lad try to level a slab over sub-base that hadn’t been compacted properly; he was so focused on getting that surface smooth he didn’t notice the ground was shifting like wet sand underneath him. He thought he was doing a grand job, but I knew right then that the crack was already written into the stone.
I’m not here to give you some polished, textbook lecture that ignores the reality of a muddy site or a sudden heatwave. What I’m going to give you is the truth about what actually keeps a slab level and intact: the sub-base, the curing, and the joints. I’ll walk you through the grit and the grime of the process, focusing on the parts everyone else skips because they aren’t “photogenic.” If you want to learn how to do it properly—the way that ensures you aren’t called back to fix a disaster in six months—then you’re in the right place.
Table of Contents
Why Subbase Preparation for Slabs Dictates Your Long Term Success
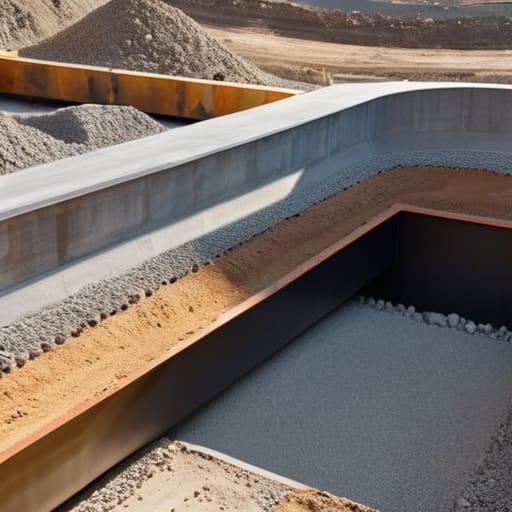
Listen, I’ve seen lads spend a fortune on high-spec, high-strength mixes only to watch the whole thing heave and crack six months later. They think the concrete is the star of the show, but they’re wrong. The concrete is just the skin; the subbase is the skeleton. If your subbase preparation for slabs is lazy—if you’ve just spread some loose hardcore without compacting it in proper layers—you aren’t building a floor, you’re building a slow-motion disaster. You can have the most expensive mix in the country, but if that ground settles unevenly because you skipped the compaction, that slab is going to snap.
It’s all about the structural integrity of ground bearing slabs being decided long before the first truck arrives. You need a solid, even, and well-compacted foundation to ensure the load is distributed properly. If you haven’t accounted for the ground’s ability to hold weight or if you’ve left soft spots in the MOT Type 1, you’re essentially pouring your profit into a sinkhole. Don’t come crying to me about cracks when you’ve built your house on sand.
Mastering Load Bearing Capacity Calculations Before the First Truck Arrives
Listen, I’ve seen plenty of lads get caught out because they treated the math like a suggestion rather than a rule. You can have the finest mix design in the county, but if your load bearing capacity calculations are based on guesswork or a “gut feeling,” you’re building a ticking time bomb. People think the weight is just the slab itself, but they forget about the live loads—the machinery, the heavy storage, or even the snow buildup. If you haven’t accounted for how that weight transfers through the concrete and into the ground, you aren’t building; you’re gambling.
Before you even think about the concrete slab construction process, you need to know exactly what that ground can handle. I’ve stood on sites where the paperwork said one thing, but the actual compaction of the subbase was nowhere near where it needed to be to support the intended load. If the math says you need a specific CBR (California Bearing Ratio) value and you haven’t verified it, you’re just waiting for the slab to tilt or snap. Never trust a calculation until you’ve looked at the actual ground underneath it.
Five Things That’ll Save Your Slab (And Your Reputation)
- Stop the ‘Watering Down’ Habit: I’ve seen more slabs ruined by a lad with a hose than by bad mix designs. If the truck arrives a bit stiff, you call for an admixture or you wait; you don’t just throw water in to make it flow easier. Once that water evaporates, you’re left with nothing but voids and a recipe for shrinkage cracks.
- Don’t Treat Joints Like an Afterthought: A crack is just the concrete telling you where it wanted to break in the first place. If you don’t time your saw cuts or your contraction joints perfectly, the ground will decide the pattern for you, and it won’t be pretty. You have to respect the timing.
- Watch the Weather Like a Hawk: You can have the best sub-base in the world, but if you’re pouring in a heatwave without a curing plan, or if a frost is coming in overnight, you’re fighting a losing battle. Concrete is a chemical reaction, not just wet rocks; if the temperature isn’t right, the chemistry fails.
- The Membrane is Your Best Friend, Not an Option: Don’t skimp on the DPM (Damp Proof Membrane). If you don’t lay it right, with the right overlaps and taped seams, you’re asking for moisture issues and uneven curing. A slab that dries unevenly because of a dodgy membrane is a slab that’s going to curl.
- Check Your Levels Before the Pump Starts: Once that concrete is out of the chute, you can’t take it back. I’ve seen men rush the pour because they were behind schedule, only to realize they’d finished half a dozen inches too high. Check your datum points, check your falls, and check them twice.
Don't Let the Easy Part Fool You
At the end of the day, a successful ground bearing slab isn’t won when the concrete starts flowing out of the chute; it’s won in the days spent compacting that sub-base and the hours spent double-checking your load calculations. If you skip the grunt work—the leveling, the testing, and the rigorous preparation of the ground—you might get a smooth finish today, but you’re just building a ticking time bomb for tomorrow. You can buy the most expensive mix in the country, but if your foundation is soft or your calculations are lazy, that money is just going to end up in the cracks. Respect the sequence, or the sequence will eventually break your budget.
I’ve spent forty-three years watching people try to rush the process, thinking they can make up for poor groundwork with a bit of extra cement or a faster finish. They can’t. There is a certain pride in knowing that the slab you poured isn’t just sitting on the dirt, but is truly integrated with the ground beneath it. Do it right, do it slow, and never let anyone talk you into adding water just to make the screeding easier. When you get the preparation right, you aren’t just pouring concrete; you’re building something that will actually stand the test of time.
Frequently Asked Questions
How do I know if my sub-base is actually compacted enough, or am I just taking the word of the lad on the wacker plate?
Look, I’ve seen too many lads nod and say “it’s solid” just to get to lunch. If you want to know for sure, stop guessing and get a penetrometer or a dynamic cone penetrometer (DCP) on site. It’s not fancy, but it gives you a number you can actually trust. If you’re on a smaller job, try the “proof roll”—drive a heavy bit of plant over it slowly. If it deflects or pumps, your sub-base is rubbish.
What’s the real-world difference between using a standard mix and something like a fibre-reinforced slab when I'm dealing with heavy plant traffic?
Listen, if you’re running heavy plant over a standard mix, you’re essentially waiting for the surface to shatter. A standard slab relies entirely on the steel mesh to hold it together, but once that mesh shifts or gets too deep in the pour, you’re finished. Fibres are different; they’re everywhere, through the whole depth of the slab. They don’t stop cracks, but they stop them from opening up and turning your yard into a graveyard of broken concrete.
If the weather turns and it starts pouring rain right as the truck arrives, do I stop the pour or try to push through it?
If it’s just a light drizzle, you can manage, but if it’s actually pouring, you stop. Period. Don’t let some site foreman talk you into “pushing through” to save time. Rain hitting a fresh surface washes out the cement paste, leaves the aggregate exposed, and ruins your water-to-cement ratio. You’ll end up with a weak, dusty surface that’ll flake off in six months. Cover what you’ve laid, wait it out, and don’t compromise the mix.