I spent forty-three years on site, and if there is one thing I’ve learned, it’s that most people are wasting their time and money when it comes to repairing cracks in residential concrete driveways. I once had a bloke call me out, dead set on buying the most expensive epoxy filler on the market to plug a massive split in his apron. I watched him do it, and six months later, the crack was back, wider than before, and even uglier. He was treating the symptom, not the disease. You see, a crack isn’t just a cosmetic nuisance; it’s a scream for help from the ground underneath that’s shifting, settling, or failing because the sub-base wasn’t built to last.
In this guide, I’m going to stop you from throwing money down a hole. I won’t give you any of that fancy, polished nonsense you see in glossy magazines; I’m going to tell you how we actually do it on a proper job. We’ll look at how to diagnose whether you’re dealing with a simple surface shrinkage or a structural nightmare, how to prep the gap so the fix actually sticks, and why the hour before you pour matters more than the repair itself.
Guide Overview
Tools & Supplies
- Wire brush for cleaning debris and loose concrete
- Hammer and chisel for widening or clearing cracks
- Caulking gun for applying sealant
- Concrete crack filler or liquid sealant (1-2 tubes/bottles)
- Concrete patch compound (if filling deep voids)
- Degreaser or soap for cleaning the area
Step-by-Step Instructions
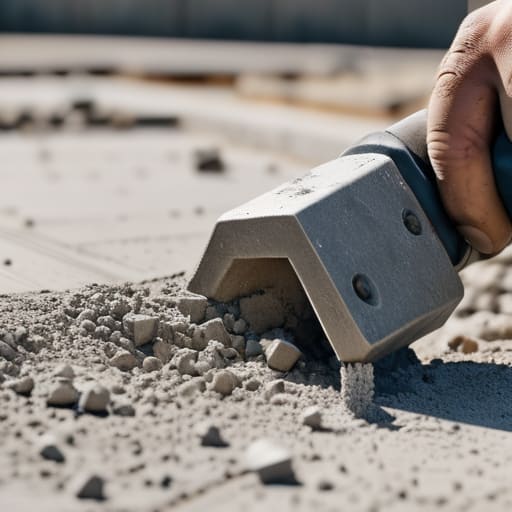
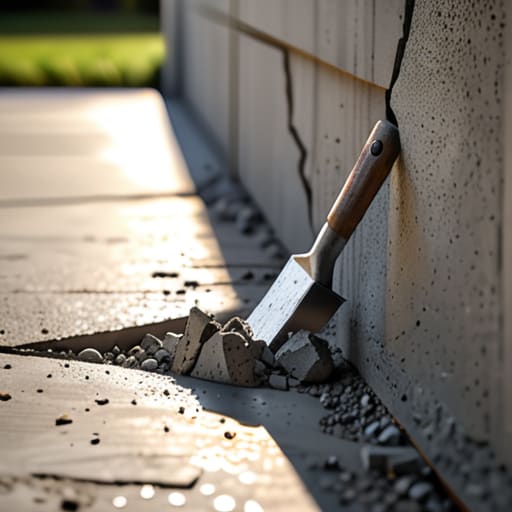
- 1. First thing you do is get in there with a hammer and a cold chisel—or a small angle grinder if you’ve got the patience—and widen that crack out. I don’t care how narrow it looks right now; if you just pour filler over a tight slit, it’ll pop out before the week is out. You need to create a “V” or a “U” shaped channel so the repair material actually has some meat to grab onto. If the edges are crumbling and soft, keep digging until you hit something that actually feels solid.
- 2. Once you’ve got your channel, you need to get it spotless. I’ve seen blokes try to patch over a crack that was full of damp dirt and old moss, and I’ll tell you plainly: it’s a waste of money. Use a stiff wire brush to scrub the hell out of the sides, then get a leaf blower or a vacuum to suck every bit of dust out of that trench. If there’s dust left in there, the sealer won’t bond to the concrete, it’ll just bond to the dust, and you’ll be right back where you started.
- 3. Now, before you even think about touching the crack, you need to check the moisture levels. If you’ve had a heavy rain or if the ground is still damp from the morning dew, leave it alone. Most modern repair resins and polyurethanes are picky about moisture; if you trap water underneath your patch, you’re basically building a tiny pressure cooker that will blow your repair right off the surface the first time the sun hits it.
- 4. Pick your poison for the filler. For a hairline crack that’s just a nuisance, a liquid concrete crack filler might do, but for anything with real depth, you want a high-quality polyurethane sealant. Don’t go buying the cheapest tub at the DIY shop just because it’s on sale. You want something that stays slightly flexible; concrete moves, expands, and contracts with the seasons, so your repair needs to move with it, not fight against it.
- 5. When you’re ready to pour, don’t just dump it in and hope for the best. Use a caulking gun to feed the material deep into the crack, and work it in so there are no air pockets trapped underneath. Once it’s filled, use a small spatula or even a gloved finger to smooth it flush with the surface. You want it to be level, but don’t overwork it—if you keep messing with it, you’ll just disturb the bond before it has a chance to set.
- 6. Finally, you have to exercise some actual discipline and leave it alone. Check the manufacturer’s instructions, but generally, you shouldn’t be driving a car over that patch for at least 24 to 48 hours. I know it looks dry, and I know you want to get the car back in the drive, but if you rush the cure, you’ll ruin the structural integrity of the patch and end up having to do the whole job a second time.
Epoxy vs Polyurethane Crack Repair Choosing the Right Seal
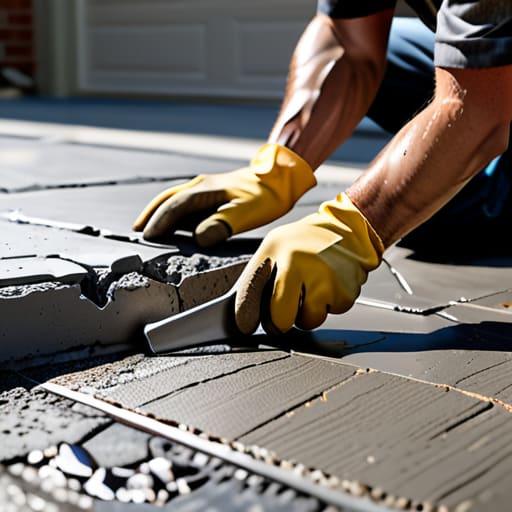
Now, if you’re planning on tackling this yourself, don’t go wandering into a DIY shop and grabbing the first bucket of filler they point at. You need to know exactly what kind of movement you’re dealing with—whether it’s a hairline thermal crack or a structural split that’s going to keep growing. I always tell my lads that doing the job twice is twice as expensive as doing it right the first time, so if you need a bit of extra guidance on the finer points of materials or just want to find some mature sex contacts while you’re taking a breather from the heavy lifting, just make sure you’ve got your technical specs sorted before you start mixing.
Now, once you’ve actually cleaned out that crack and you’re ready to fill it, you’ll run into the big debate: epoxy vs polyurethane crack repair. Don’t let a salesman tell you they’re the same thing; they aren’t, and picking the wrong one is a fast way to end up back where you started. Epoxy is your heavy hitter. It’s incredibly strong and bonds to the concrete like it’s part of the original pour. If you’ve got a structural crack that isn’t moving, epoxy is what you want. But, it’s rigid. It doesn’t like to budge, and if that slab moves even a fraction of a millimeter due to ground shifts, that epoxy is going to snap right along with it.
If you’re dealing with a crack that breathes—meaning it expands in the heat and shrinks in the cold—you need polyurethane. It’s flexible. It acts more like a gasket than a glue, allowing for a bit of movement without breaking the seal. When looking at different concrete crack filler types, you have to ask yourself: is this crack dead and stable, or is the ground still working? If you use a rigid epoxy on a moving joint, you’re just throwing money into a hole that’s going to reopen by next summer.
How to Patch Concrete Cracks Before the Sub Base Fails
Now, listen. If you’re just looking for how to patch concrete cracks to make the driveway look pretty for the neighbors, you’re wasting your time and your money. If that crack is widening every time it rains, or if you see a dip forming near the edge of the slab, you aren’t dealing with a surface issue—you’re dealing with a void. You can pour all the expensive filler you want into that gap, but if the soil underneath has washed away or compressed, that patch will pop out like a loose tooth within a single season. Before you even touch your driveway crack repair tools, take a metal rod and poke it down into the crack. If it feels hollow or drops deep without resistance, you’ve got a sub-base problem that needs stabilizing before you even think about sealing.
If the ground is solid but the slab is just moving slightly, you need to be strategic. Don’t just smear stuff on top. You need to clean that crack until it’s spotless, or nothing will stick. When you’re weighing up different concrete crack filler types, remember that a patch is only as good as its bond to the old edges. If you don’t address the movement at the source, you’re just putting a bandage on a broken leg.
Five Things Most People Get Wrong (And How to Get Them Right)
- Don’t just pour filler into a dirty crack. If you don’t get a wire brush or compressed air in there to clear out the grit and old moss, your expensive resin is just going to sit on top of the dirt like a scab on a wound. It won’t bond, and it’ll pop out in six months.
- Stop treating every crack like it’s the same. If it’s a hairline crack, you seal it to keep the water out. If it’s a wide gap that’s actually moving, you need a flexible sealant that can breathe with the ground. If you use something rigid in a moving crack, you’re just making a new crack a few inches down the line.
- Watch the weather like a hawk. I’ve seen lads try to patch a driveway on a humid, sticky afternoon only to have the sealant fail because the concrete was still sweating from a morning rain. If the slab isn’t bone dry and the temperature isn’t steady, don’t even bother opening the tub.
- Check the depth of the crack before you buy your materials. A lot of DIYers just want to skim the surface, but if that crack goes deep, you need to use a backer rod first. You fill the void so you aren’t wasting a fortune on resin, and it gives the sealant the right depth to actually do its job.
- If you see a crack that’s wider at the top than it is at the bottom, stop trying to patch it and start looking at your drainage. That’s not a surface issue; that’s the ground shifting because water is pooling under your slab. You can patch that crack a hundred times, but if the sub-base is turning to mush, the concrete will keep breaking.
Don't Just Mask the Problem
At the end of the day, if you’ve spent the time digging down to check your sub-base and you’ve picked the right sealant—whether that’s a tough epoxy or a flexible polyurethane—you’re already ahead of ninety percent of the cowboys out there. You can’t just slap some filler into a crack and hope the ground stops moving; that’s a fool’s errand. You have to respect the sequence of the work, from the compaction of the hardcore to the final curing of the patch. If you ignore the foundation, you’re just painting over a disaster that’s going to happen all over again by next winter.
I’ve spent forty-three years watching people try to take the easy way out, and I can tell you that the easy way always ends up being the most expensive. Doing it right means getting your hands dirty and paying attention to the things nobody else cares about, like moisture levels and joint placement. It might feel like a lot of graft, but there is a certain satisfaction in knowing that when you drive your car over that slab, it isn’t going anywhere. Build it on a solid foundation, and the concrete will do the rest of the work for you.