I’ve spent forty-three years watching men ruin perfectly good masonry because they thought a bit of elbow grease and a high-pressure washer was the answer to everything. I remember a lad on a site back in the nineties—bright enough, but impatient—who tried to blast the efflorescence off a new garden wall with a jetter set to full tilt. He didn’t realize he wasn’t just cleaning; he was eroding the face of the brick and washing the lime right out of the mortar joints. Most people search for how to clean brickwork thinking it’s a matter of scrubbing harder, but if you don’t understand the chemistry of the stone and the fragility of that mortar, you aren’t cleaning a wall—you’re dismantling it.
I’m not here to sell you some fancy chemical spray or a miracle sponge that’ll be empty in ten minutes. I’m going to tell you how to actually approach the job by looking at the moisture levels and the bond before you even pick up a brush. We’ll go over the right tools for the specific type of brick you’ve got, how to handle the grit without scarring the surface, and most importantly, how to avoid the mistakes that turn a weekend DIY job into a permanent structural headache.
Table of Contents
Guide Overview
Tools & Supplies
- Stiff-bristled brush (non-metallic to prevent scratching)
- Garden hose (with spray nozzle for pressure)
- Scrub brush (medium stiffness for heavy stains)
- Brick cleaning solution or mild detergent (1 bottle)
- Water (as needed)
- Protective gloves (1 pair)
Step-by-Step Instructions
- 1. Before you even think about touching a brush or a pressure washer, you need to inspect the mortar joints. I’ve seen too many blokes go in with a high-pressure jet, thinking they’re doing a grand job, only to blast the pointing clean out of the wall. If those joints are crumbling or sandy, you aren’t cleaning; you’re demolishing. You fix the mortar first, or you’ll be spending twice the money on a repointing job before the dirt is even gone.
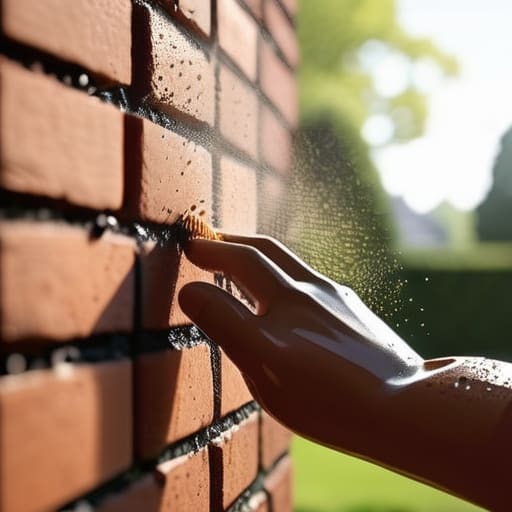
- 2. Get yourself a proper stiff-bristle brush—and I mean a real one, not some flimsy plastic thing from a supermarket. Start by sweeping away the loose grit, cobwebs, and any dried mud that’s just sitting on the surface. If you try to scrub through a layer of thick dust, you’re just turning it into a slurry that’s going to settle deep into the pores of the brick, making your job twice as hard.
- 3. Now, you have to decide on your solution, and this is where people get lazy. If it’s just light staining, a bucket of warm water and a bit of mild detergent will do, but if you’re dealing with heavy soot or organic growth, you might need a dedicated brick cleaner. Whatever you use, test a small, hidden patch first. I’ve seen lads use something too harsh that stripped the face right off an old reclaimed brick, and there isn’t a fix in the world for that.
- 4. Apply your cleaner from the bottom of the wall upwards. It sounds backwards, I know, but if you start at the top and let the wet cleaner run down a dry wall, you’ll end up with these ugly, permanent streaks that look like a crime scene. You want to work in sections, keeping the brick consistently damp so the chemical has time to actually do its job without drying out too fast.
- 5. If you are using a pressure washer, for heaven’s sake, keep your distance. I’ve watched many a homeowner turn a beautiful facade into a mess of pitted, uneven surfaces because they thought more pressure meant a better clean. Use a wide fan spray, keep the nozzle moving in a steady rhythm, and never, ever aim it directly at the mortar joints if you want that wall to stand for another fifty years.
- 6. Once the dirt is loosened, you need to rinse the whole lot thoroughly with clean water. Don’t just spray it and walk away; you need to make sure you’ve flushed out all the residue from the pores of the brick. If you leave cleaning chemicals sitting in the masonry, they’ll react with the sunlight and leave you with white, salty stains—what we call efflorescence—that’ll haunt you every time it rains.
- 7. Finally, give the wall a chance to dry completely before you judge the result. A wet brick looks a lot darker and more uniform than it actually is. Let the sun and the air do their work, and only once it’s bone dry should you walk around and see if you’ve actually cleaned it or if you’ve just moved the problem around.
Why Pressure Washing Brick Walls Is a Dangerous Shortcut
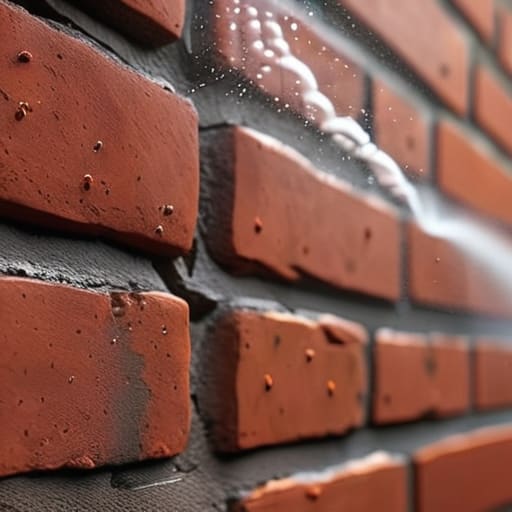
I’ve seen it a hundred times: a homeowner gets a bit impatient with some green algae or old staining and decides to grab a high-pressure jet washer to “get the job done fast.” That’s the first mistake. When you start pressure washing brick walls without knowing exactly what you’re dealing with, you aren’t cleaning; you’re excavating. You’ll strip the face right off a soft red brick or, worse, blast the water deep into the substrate. Once that moisture is driven into the core of the wall, you’re inviting damp issues that’ll haunt the house for years.
If you want to do it right, you need to respect the material. Instead of brute force, look into gentle brick cleaning techniques that actually respect the mortar joints. I’ve seen lads use enough pressure to turn a solid wall into a sieve because they wanted to save twenty minutes of scrubbing. If you’re dealing with white, powdery salts, don’t just blast at them—you’ll only push the problem deeper. You need to focus on removing efflorescence from brick using the right chemical balance, not just a high-velocity stream of water.
Removing Efflorescence From Brick by Respecting the Salt
Now, if you see that white, powdery stuff creeping up the face of your bricks, don’t go grabbing the heavy machinery. That’s efflorescence, and it’s nothing more than salt being pushed out of the masonry as moisture moves through. Most lads see it and think the brick is dirty or rotting, so they go straight to pressure washing brick walls to blast it off. That is a massive mistake. You might get the white powder off, but you’ll likely strip the face right off the brick in the process, leaving you with a porous, crumbling mess that’ll soak up water like a sponge come winter.
When you’re removing efflorescence from brick, you have to treat it with a bit of respect. You aren’t fighting dirt; you’re managing salt. My advice is to let the wall dry out completely first—trying to clean it while it’s damp just pushes the salts deeper into the substrate. Once it’s bone dry, use a stiff natural bristle brush and a mild solution. If you use the wrong chemicals, you’ll just be trading one white stain for another. It’s about patience, not power.
Stop Looking at the Dirt and Start Looking at the Joints
- Check your mortar before you even touch a bucket. If that pointing is soft or crumbling, any cleaning you do—no matter how gentle—is just going to wash the guts out of your wall. You don’t clean a wall that’s structurally failing; you repoint it first.
- Test a patch in the shade. I don’t care how much you like that fancy cleaning solution; if you spray it on a massive north-facing wall in the midday sun, you’re going to bake it into the brick and leave permanent streaks that no amount of scrubbing will ever shift.
- Stop trying to “scrub” the stains out with brute force. If you’re leaning your whole weight into a brush, you’re probably stripping the face off the brick. Let the chemical do the work of breaking down the grime, then lift it away. It’s a soak, not a wrestling match.
- Watch the weather like a hawk. If you clean a wall right before a heavy downpour, you’ve just wasted your afternoon and probably washed all that loosened filth right back into your foundations. You want a dry spell, not a damp one.
- Don’t ignore the drainage. If you’re cleaning a wall and you aren’t making sure the runoff isn’t pooling at the base or soaking into a poorly compacted sub-base, you’re just inviting dampness to settle into the very problem you’re trying to fix.
Don't Just Clean It, Respect It
At the end of the day, cleaning brickwork isn’t about making something look pretty for a photo; it’s about maintaining the integrity of the structure. If you’ve listened to a word I’ve said, you know that you don’t just grab a high-pressure nozzle and start blasting away like you’re washing a car. You’ve learned that you have to address the moisture levels first, treat the efflorescence without stripping the face off the brick, and—most importantly—you’ve respected the mortar joints. If you’ve gone in there with a heavy hand, you haven’t cleaned a wall, you’ve just started a slow-motion demolition that’ll cost the owner a fortune in repointing five years down the line.
I’ve spent forty-three years watching people take the easy way out, only to watch them come back to me asking why their masonry is crumbling. It’s a hard lesson, but a necessary one. If you take the time to do the prep work and use the right chemistry, you aren’t just scrubbing a surface; you are preserving a foundation. Do the job right the first time, respect the materials, and you won’t have to worry about whether your work is going to hold up when the weather turns. There is a quiet pride in doing things properly, even when nobody is looking at the sub-base or the joints.
Frequently Asked Questions
If I've already seen some hairline cracks in the mortar while cleaning, does that mean the wall is structurally unsound or just old?
Look, don’t go panicking just yet, but don’t ignore it either. A hairline crack in the mortar usually just means the wall’s had a bit of movement over the years—it’s often just age and settling. But here’s the thing: if those cracks are wider than a couple of millimetres or if you see the actual bricks shifting, you’ve got a structural problem, not a cleaning one. Check if the crack is through the mortar or the brick itself. If it’s the brick, call a pro.
Is it worth trying to scrub away deep-seated stains with a wire brush, or am I just going to chew up the face of the brick?
Don’t even think about it. You’ll chew the face right off the brick and then you’re left with a porous mess that’ll soak up dirt like a sponge. Once you’ve stripped that outer “skin” off, you can’t put it back. If a soft nylon brush won’t shift it, you don’t need more muscle; you need the right chemical reaction. Stop trying to sand it away and start letting the cleaner do the heavy lifting.
How do I know if the brick is actually dry enough to stop cleaning, or if I'm just trapping moisture behind the surface?
You can’t just look at the color and call it a day; that’s how you trap moisture and invite salt back in. I always tell my lads: if you’re still seeing dark patches in the mortar joints, it’s still wet. The real test is the touch. If the brick feels cool to the hand, there’s still water sitting in the pores. Wait until it’s bone-dry and feels room temperature. If you rush it, you’re just sealing in a disaster.