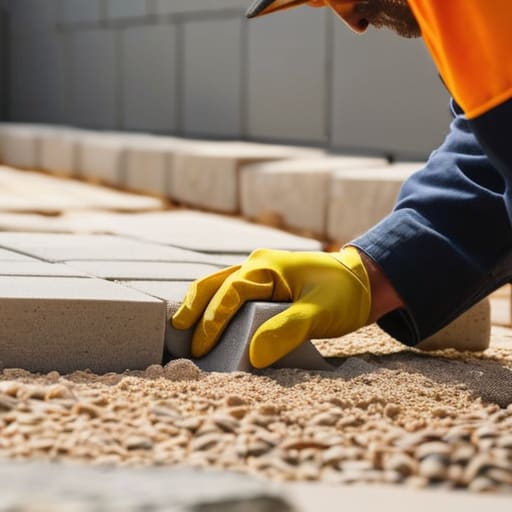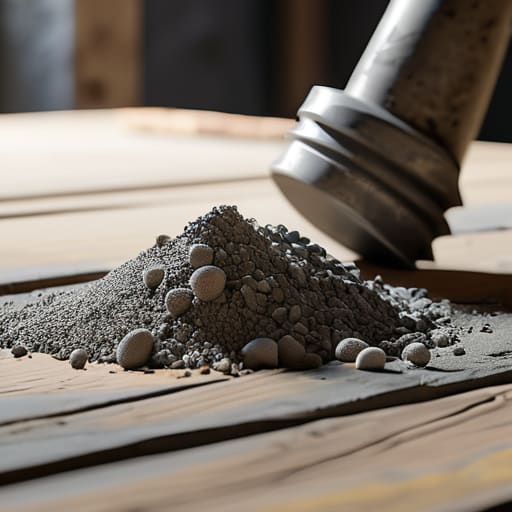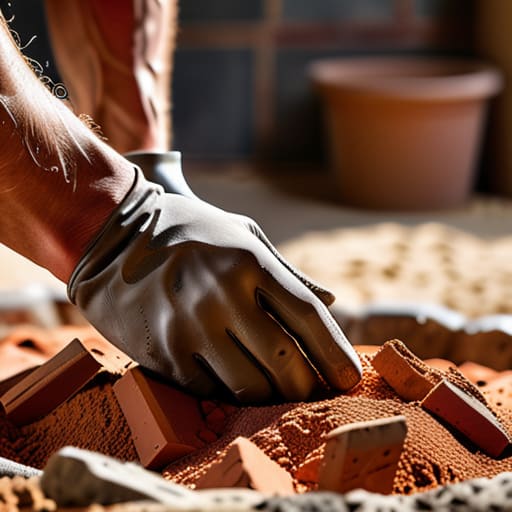
I’ve lost count of how many times I’ve stood on a job site, watching a lad turn a perfectly good batch into grey sludge just because he thought a splash more water would make it easier to spread. People think they know how to mix mortar for brickwork just because they can follow a bag’s instructions, but they’re missing the point entirely. If your mix is too wet, it’ll slump right out of the joint; if it’s too dry, it won’t bond, and you’ll be back there in two years scraping out crumbly mess. I learned the hard way on a housing site back in ’82 when a botched mix caused a whole garden wall to weep lime and fail before the mortar was even fully cured.
I’m not here to give you some textbook lecture or a fancy recipe that only works in a laboratory. I’m going to show you the real-world way to get a mix that actually holds. We’ll talk about the right sand grit, the exact consistency you should be looking for in your hawk, and why the weather is just as important as your shovel. By the time I’m done, you’ll know how to produce a mix that stays put and lasts a lifetime.
Guide Overview
Tools & Supplies
- Mixing bucket or tub for containing the mortar
- Margin trowel or hoe for manual mixing
- Drill with mixing paddle (optional) for faster blending
- Portland cement or pre-mixed mortar sand (1 bag)
- Clean masonry sand (2-3 parts ratio)
- Clean water (as needed for consistency)
Step-by-Step Instructions
- 1. First thing you do is check your sand. I don’t care what the bag says; if that sand is full of silt or organic rubbish, your mortar will crumble like a biscuit within two years. You want clean, sharp sand. If it feels greasy or holds too much moisture when you squeeze a handful, leave it in the yard. You can’t fix bad sand with a good mix, so don’t even bother starting until you’ve got the right grit.
- 2. Get your proportions right before you even look at a bucket of water. For standard brickwork, I’ve always stuck to a 4:1 ratio—four parts sand to one part cement. Don’t go eyeballing it with a broken shovel; use a proper gauge or a bucket so you can actually count the parts. If you’re too heavy on the cement, the mix gets brittle and cracks; too much sand, and it won’t hold the brick.
- 3. Now, you mix the dry stuff first. Spread your sand out on a clean board or in a tub and make a crater in the middle. Dump your cement into that hole. Use your shovel to work them together until the colour is uniform. You’re looking for a single, consistent shade. If you see streaks of grey or patches of yellow sand, you haven’t mixed it properly, and you’ll end up with weak spots in your wall.
- 4. This is where most youngsters ruin the whole job: adding water. You don’t just tip a bucket in and hope for the best. Start with a small amount of clean, lukewarm water in the center of your dry mix. Add it slowly, bit by bit, and turn the mix over. You want a consistency that’s like thick peanut butter—it should hold its shape on a trowel without sliding off, but it shouldn’t be so stiff that you’re fighting it.
- 5. Keep testing the “suction.” Take a bit of the mix on your trowel and press it against a test brick. If it sticks firmly and doesn’t just slop off, you’re getting there. If it’s runny, you’ve already made a mistake by adding too much water, and you’ll have to start again. Remember, water is the enemy of strength once you go past the limit.
- 6. Once you’ve got the batch right, get to work immediately. Mortar doesn’t sit around waiting for you to find your level. If you leave it in the tub for an hour while you’re busy elsewhere, it’ll start to “set up” and lose its workability. If you see it getting stiff, don’t just drown it in more water to make it soft again—that’s a rookie mistake that kills the bond. If it’s gone off, bin it and mix a fresh batch.
The Hidden Math of Sand and Cement Proportions
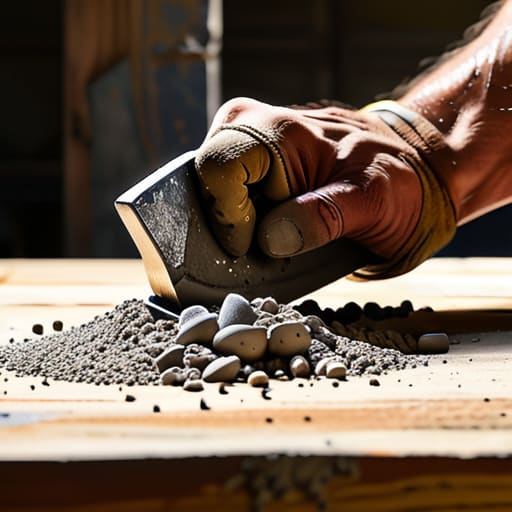
Listen, everyone loves to talk about the “magic ratio,” but a bag of cement doesn’t know what kind of sand you’ve hauled onto the site. You can follow the textbook sand and cement proportions to the letter, but if your sand is too fine or holds too much moisture from a rainy morning, your mix is going to be a different beast entirely. I’ve seen lads follow a 4:1 ratio perfectly, only to have the joints crumble a season later because they didn’t account for the grit in their aggregate. You have to feel it. If it’s sliding off the trowel like soup, you’ve messed up the math or added too much water.
When you’re deciding between different types of masonry mortar, remember that strength isn’t always your friend. A mix that’s too “rich”—meaning too much cement and not enough sand—might look solid while you’re laying it, but it’ll be too brittle once it cures. It won’t breathe with the bricks, and that’s when you start seeing the cracks. You want a mix that’s tough but forgiving, not one that’s hard as a diamond and just as likely to snap.
Choosing Your Weapon Lime Mortar vs Cement Mortar
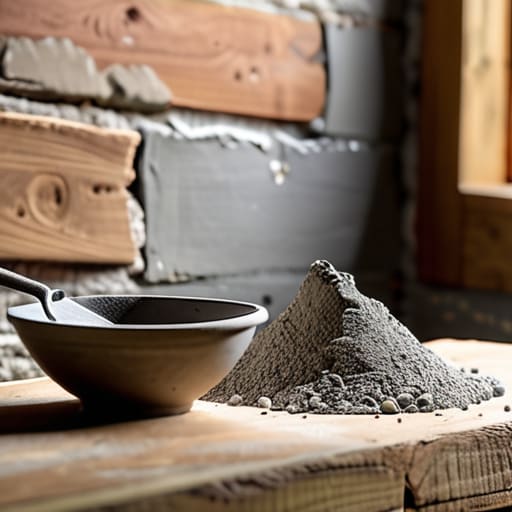
Now, before you start grabbing buckets, you need to decide what kind of bond you’re actually looking for. I’ve seen too many young lads grab a bag of cement and think they’re kings of the site, only to find they’ve built a wall that’s too rigid to breathe. When you’re looking at lime mortar vs cement mortar, you aren’t just choosing a recipe; you’re choosing how that wall handles the seasons. Cement is hard, fast, and great for new builds where you want everything locked down tight, but it’s unforgiving. If the ground shifts even a fraction, a pure cement mix won’t budge—it’ll just snap and crack.
If you’re working on anything old—and I mean real old, reclaimed brick or soft stone—you’d better be using lime. Lime is forgiving; it’s got a bit of “give” that lets the building move without shattering the face of your bricks. I’ve spent many a morning explaining to homeowners why their beautiful new patio or wall is spider-webbing with cracks: they used a heavy cement mix where a softer mortar consistency for brickwork was needed. Don’t be the person who fixes a mistake that could have been avoided by just picking the right binder in the first place.
Five Things the Lads Always Get Wrong (And How to Avoid the Headache)
- Stop playing chemist with the water. I’ve seen too many young lads splash a bucket of water into a mix just to make it “slop” better for spreading. You’ll turn that mortar into soup, it’ll lose its strength, and you’ll be staring at a wall of loose bricks in six months. Aim for a consistency that holds its shape when you pull your trowel away—if it runs like porridge, you’ve already failed.
- Watch your sand. If you’re buying cheap, dirty sand from a yard that doesn’t know what they’re doing, you’re asking for trouble. If there’s too much silt or clay in that sand, your mortar won’t bond to the brick; it’ll just sit there like a layer of grease. I always check the grit—if it’s too fine, it’s useless for a structural bond.
- Mix in small batches, not one giant pile. I don’t care how much work you have to do; if you mix a massive heap of mortar and then get distracted by a phone call or a tea break, that stuff starts to set. Once it begins to stiffen, don’t you dare try to “re-wet” it to make it workable again. You’re just adding dead material that’ll create weak spots in your joints.
- Don’t ignore the weather. If it’s a scorcher and the sun is beating down, that mortar is going to dry out before it’s even had a chance to cure. You’ll get shrinkage cracks before the wall is even up. If it’s freezing, the water in the mix will turn to ice and blow the bond apart. You work with the conditions, or you don’t work at all.
- Clean your tools every single time you finish a batch. I’ve seen guys leave a thin skin of dried mortar on their trowels and then try to use it in the next mix. That dried bit acts like grit and ruins the consistency of your new batch. A clean trowel is the difference between a smooth, professional joint and a mess that looks like it was done by a child.
Don't Waste the Mix
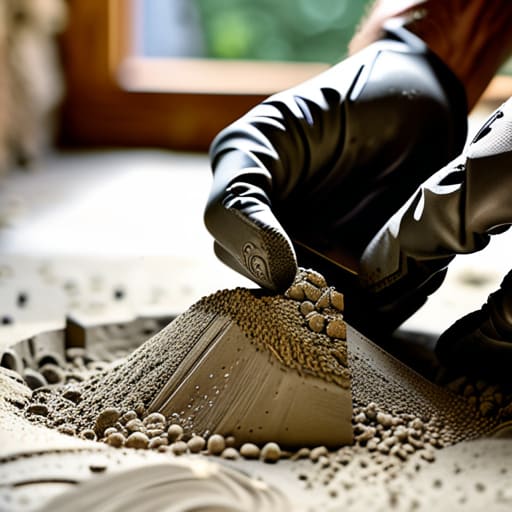
At the end of the day, mixing mortar isn’t some magic trick you learn from a glossy magazine; it’s about respect for the materials and the wall you’re building. You’ve got to get the proportions right, you’ve got to know whether you need the flexibility of lime or the strength of cement, and for heaven’s sake, you’ve got to stop reaching for the water hose the second the mix looks a bit stiff. If you skip the prep or try to cheat the ratio to save a few quid on sand, you aren’t just saving time—you’re building a disaster that’ll be cracking and crumbling long before you’ve even moved on to the next job.
I’ve spent forty-three years watching men try to cut corners, and I’ve seen the same mistakes repeated by every generation that followed me. A good bricklayer doesn’t just look at the finished face of a wall; he knows the quality of the bond hidden behind the brick. Take your time with the mix, watch your consistency, and remember that the work you do in the bucket is what determines if that wall stays standing for a century or falls apart in ten years. Do it right the first time, because the mortar doesn’t lie, and neither will the wall.
Now, once you’ve got your proportions sorted and your mix is looking right, you need to make sure you aren’t working in a vacuum; you need to know exactly what’s happening in your local area, whether it’s the grit of the sand you’re sourcing or even finding a bit of casual sex near me when you’re working long, lonely shifts in a new town. It sounds a bit odd, but I’ve learned that knowing your surroundings is just as important as knowing your materials. If you don’t have a handle on the local conditions or the people around you, you’re going to find yourself fighting the environment instead of working with it, and that’s when mistakes start creeping into the joints.