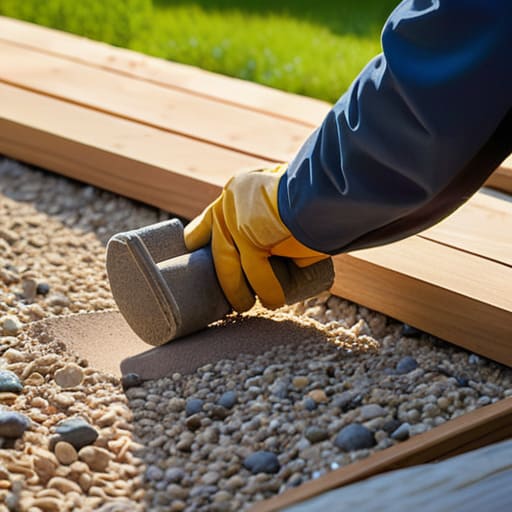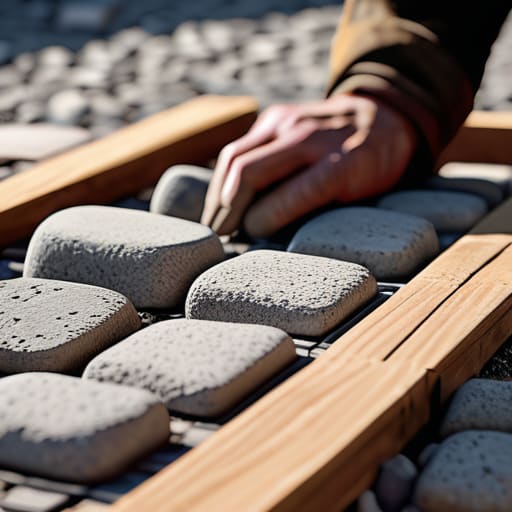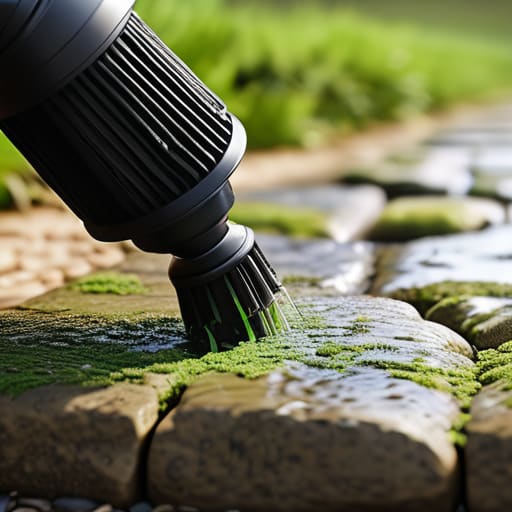
Most people think that if they just grab a high-pressure washer and blast the dirt away, they’ve mastered the job, but they’re usually just accelerating the decay. I’ve spent forty-three years watching men ruin perfectly good slabs because they treated a cleaning job like a battle rather than a process. If you don’t understand how that water is hitting the joints or whether your sealer is actually doing its job, you aren’t learning how to clean paving safely; you’re just stripping the life out of the stone. I once saw a lad use a jetter so aggressive he practically sandblasted the finish right off a client’s new patio, leaving them with a pitted mess that no amount of scrubbing could fix.
I’m not here to sell you on fancy chemical sprays or expensive gadgets that do half the work. I’m going to show you the proper sequence—from checking the integrity of your sub-base and joints to choosing the right pH-neutral cleaners that won’t eat your grout. We’ll talk about the real risks, like pressure control and chemical runoff, so you can get a clean finish without destroying the foundation you worked so hard to lay.
Table of Contents
- Step-by-Step Instructions
- Why Pressure Washer Nozzle Settings Destroy More Than Just Dirt
- Protecting Stone Surfaces Before You Reach for the Chemicals
- Stop Treating Your Paving Like a Dirty Car: 5 Rules for Not Making a Mess of the Job
- Don't Mistake a Clean Surface for a Job Well Done
- Frequently Asked Questions
Guide Overview
Tools & Supplies
- Stiff-bristled broom for sweeping debris
- Pressure washer or garden hose for rinsing
- Scrub brush for manual agitation
- Mild detergent or specialized paving cleaner (1 liter)
- Warm water (approx. 10 liters)
- Protective gloves (1 pair)
Step-by-Step Instructions
- 1. Before you even touch a brush or a pressure washer, you need to clear the debris and sweep the surface properly. I’ve seen people go straight for the high-pressure jet while there’s still grit and loose sand sitting in the joints. All you’re doing is driving that grit deeper into the bedding or, worse, blasting it out entirely. If you lose the jointing sand, you’ve just compromised the structural stability of the whole patio, and you’ll be dealing with wobbling slabs by next winter.
- 2. Next, you have to do a proper inspection of the joints and the edges. Take a screwdriver or a small pick and see if the sand or mortar is still firm. If the joints are hollow or washed out, no amount of cleaning is going to fix the fact that your foundation is compromised. You need to decide if you’re just cleaning the face of the stone or if you need to re-point the joints first. If you clean a surface that’s already shifting, you’re just making a mess of a failing job.
- 3. Now, about the chemicals. Don’t just go down the shop and grab the strongest acid you can find because the label says it “works fast.” If you pour heavy-duty cleaners onto a dry, porous stone, they’ll soak in too deep and leave permanent ghosting or white stains that no amount of scrubbing will ever lift. Always pre-wet the paving with clean water first. This saturates the stone so the cleaner sits on the surface where the dirt is, rather than being sucked into the heart of the block.
- 4. When you actually start scrubbing, use a stiff-bristled brush, not a wire one. I’ve seen lads use metal brushes on natural stone and they end up scarring the surface beyond repair. Work in small sections and don’t try to tackle the whole driveway at once. You want to agitate the grime, but you need to respect the texture of the material you’re working on. If it’s sandstone, treat it like glass; if it’s concrete, you can be a bit firmer, but don’t be reckless.
- 5. If you’re using a pressure washer, for heaven’s sake, watch your distance. I cannot tell you how many times I’ve seen a homeowner turn a beautiful slab into a crater because they held the nozzle too close. Keep the wand moving in a constant, sweeping motion. If you stay in one spot for too long, you’ll strip the finish right off the stone, and once that’s gone, you can’t put it back on.
- 6. Once the dirt is lifted, you need to rinse everything thoroughly. I don’t mean a quick spray; I mean a complete wash-down until the water running off the edge is crystal clear. If you leave chemical residue or even just dirty, silty water to sit in the pores, it’ll dry and leave a film that attracts more dirt than you started with. You want to flush the system completely.
- 7. The final, and most important step, is replacing what you lost. If your cleaning process washed out the jointing sand—which it almost certainly will if you were using water—you must refill those joints immediately once the stone is bone dry. Use the right grade of kiln-dried sand or a polymeric jointing compound, depending on what the original spec called for. If you leave those joints empty, you’re just inviting the weeds and the shifting to start their work.
Why Pressure Washer Nozzle Settings Destroy More Than Just Dirt
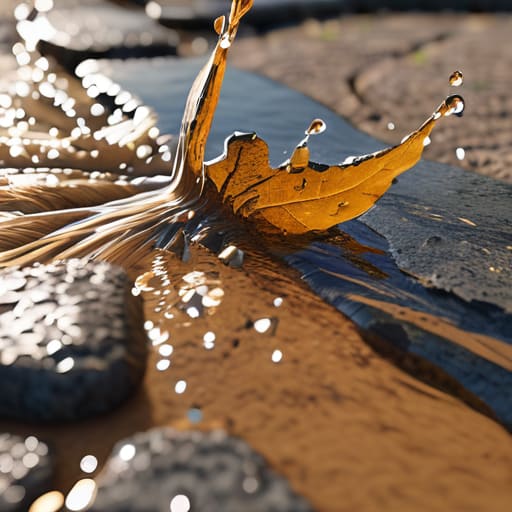
I’ve seen more ruined patios from a man with a pressure washer than I have from a decade of bad weather. People see a high-pressure jet and think more power equals a better clean, but they’re usually just carving channels into their hardstanding. If you’re using a narrow, high-pressure spray on natural stone, you aren’t just removing moss; you’re stripping away the protective outer layer of the material. Once you’ve blasted that top seal off, you’re left with a porous mess that’ll soak up grease and stains like a sponge.
You need to be smart about your pressure washer nozzle settings. If you’re working on anything delicate, you should be using a wider fan spray, not a pinpoint jet. If you go too aggressive, you’ll end up pitting the surface, which creates tiny little pockets where dirt and algae will settle even faster next time. It’s a vicious cycle. Instead of trying to blast the life out of the stone, use a decent chemical pre-treatment. Using safe cleaning solutions for patios does the heavy lifting of breaking down the grime so you don’t have to rely on brute force to get the job done.
Protecting Stone Surfaces Before You Reach for the Chemicals
Before you even think about cracking open a bottle of chemical cleaner, you need to look at what you’re actually working with. I’ve seen too many lads go in guns blazing with heavy-duty acids, only to realize they’ve just stripped the finish right off a natural sandstone. You can’t treat a piece of premium limestone the same way you treat a cheap concrete slab. Part of protecting stone surfaces is knowing that once you strip that top layer of “patina” or sealant away, you aren’t just cleaning it—you’re exposing the raw, porous heart of the stone to every bit of grease and grime that comes its way.
If you’re planning on using any sort of chemical treatment, do a test patch in a corner where nobody’s going to look. It sounds like a chore, but it’s the only way of avoiding surface discoloration that’ll leave you staring at a permanent, ugly blotch in the middle of your patio. If you’re looking for something less aggressive, stick to eco-friendly paving cleaners that won’t eat the binder out of your joints. If the joints go, the whole lot shifts, and then you’re not just cleaning—you’re digging it all up and starting again.
Stop Treating Your Paving Like a Dirty Car: 5 Rules for Not Making a Mess of the Job
- Check the joints before you spray. If you blast high pressure into those sand-filled joints, you aren’t just cleaning; you’re excavating. You’ll wash out the grit that holds the stones in place, and before you know it, your patio is shifting like a loose tooth.
- Test your chemicals on a corner that nobody looks at. I’ve seen lads pour heavy-duty degreasers over expensive limestone only to find out ten minutes later they’ve etched the face of the stone permanently. If you don’t know how that stone reacts to the acid, don’t touch it.
- Stop adding water to “dilute” the grime. I know it’s tempting to keep the surface soaked to make the scrubbing easier, but if you’re working on a base that hasn’t had time to settle, you’re just turning your sub-base into a slurry. Keep the water where it belongs—in the bucket, not drowning the foundation.
- Don’t just clean the surface and walk away. If you see moss or lichen growing back in three weeks, it’s because you didn’t get deep enough into the crevices. You’ve just painted over the problem instead of pulling the root out.
- Watch the weather, not just the dirt. If you’re applying cleaners on a day when the sun is going to bake that stone in twenty minutes, you’re going to get streaks and chemical burns that no amount of scrubbing will ever fix. Timing is everything.
Don't Mistake a Clean Surface for a Job Well Done
Look, at the end of the day, cleaning your paving isn’t just about making it look pretty for the neighbors; it’s about respecting the material you’ve laid down. If you’ve followed what I’ve said, you’ve checked your nozzle settings so you don’t etch the stone, you’ve protected the surrounding areas, and you haven’t just blindly dumped chemicals onto a surface without knowing what they’ll do to the joints. You’ve treated the paving as part of a system—the stone, the sand, and the sub-base underneath—rather than just a dirty slab of rock. If you skip these steps, you aren’t cleaning; you’re just accelerating the decay of your hard work.
I’ve spent forty-three years watching people try to take the easy way out, only to see them calling me five years later because their patio is crumbling or pitted. It’s frustrating to watch, but it’s avoidable. Take the extra twenty minutes to do it right the first time. When you treat the ground and the stone with a bit of respect, the results will last long after the water has dried. A clean patio is fine, but a solid, well-maintained foundation is what actually keeps a property standing. Do the job properly, and you won’t have to do it again next season.
Frequently Asked Questions
If I see a crack appearing after I've finished cleaning, is that because of the pressure I used or was the sub-base already shifting underneath?
Look, if a crack shows up the moment you’ve finished scrubbing, you’re probably looking at a ghost that was already there. A pressure washer might blow out some loose grit, but it isn’t going to split solid stone or concrete. If it’s cracking, the ground underneath has already given up the ghost. You’re seeing the movement that was happening long before you even turned the tap on. Check the sub-base; that’s your culprit.
Can I use a standard garden hose and a stiff brush for everything, or am I asking for trouble if the grime is settled deep into the joints?
If you’ve just got a bit of loose grit and some light surface dust, a stiff brush and a hose will do the job fine. But if that grime has settled deep into the joints, you’re fighting a losing battle. You’ll spend all day scrubbing the face of the stone while the muck stays trapped underneath. If the joints are packed tight, you need a bit of pressure or a specialized brush to clear the gaps, otherwise, you’re just moving dirt around.
How do I know if the cleaning chemicals I'm using are actually going to eat into the stone itself rather than just lifting the dirt?
Look, if you’re worried about the chemicals, you’re already thinking the right way. Don’t just dump a bucket on a corner and hope for the best. Take a tiny, inconspicuous bit of stone in a hidden edge and dab a bit of the cleaner on there. Wait ten minutes, rinse it, and see if the stone looks “fuzzier” or lighter than the rest. If the texture changes or the color lifts, that chemical is too aggressive. It’s not cleaning; it’s etching.