I was standing on a driveway in Surrey last Tuesday, looking at a set of expensive, designer paving slabs that were already shifting like they were on a boat. The homeowner had spent a fortune on the materials and a “premium” contractor, but they’d both missed the point entirely. Everyone wants to talk about the colour of the stone or the pattern of the layout, but nobody asks about the sub-base. If you want to know how to spec a paving job properly, you need to stop looking at the surface and start looking at what’s underneath. Most people think a good spec is about the finish, but in my forty-three years, I’ve learned that a fancy slab on a rubbish foundation is just an expensive way to create a trip hazard.
I’m not here to sell you on high-end aesthetics or fancy machinery. I’m going to tell you exactly what happens when the weather turns or when a driver tries to “help” the mix by adding a hoseful of water. I’ll show you the three things that actually matter: the ground, the curing, and the joints. This isn’t a textbook; it’s straight talk from the trenches about how to do it right the first time so you don’t have to call me to fix it in six months.
Table of Contents
The Invisible Foundation Site Preparation for Hardscaping
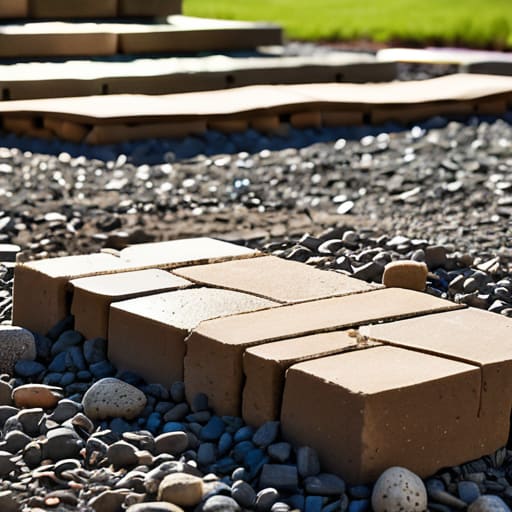
You can buy the most expensive natural stone in the world, but if you lay it on a bed of soft dirt and hope for the best, you’re just building a future headache. I’ve seen lads spend a fortune on high-end porcelain only to have it heave and tilt after one winter because they skimped on the site preparation for hardscaping. You don’t start with the pretty stuff; you start with the muck. You need to dig out until you hit something solid, and if you haven’t accounted for the drainage requirements for paving before you even think about bringing a pallet of stone onto the site, you’ve already lost the battle.
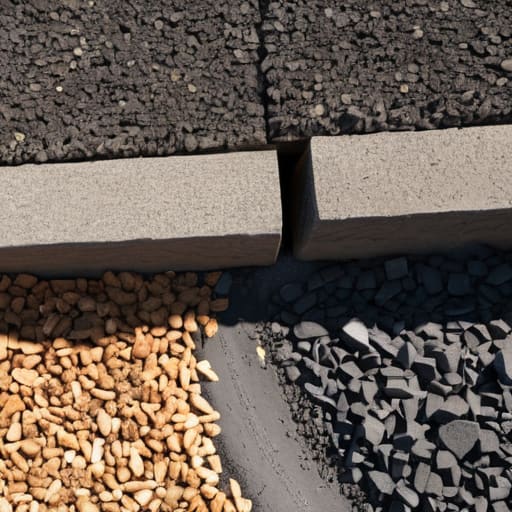
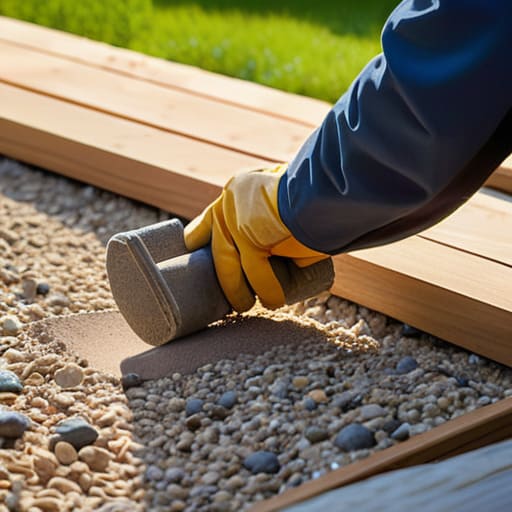
Once you’ve cleared the topsoil, it’s all about the compaction. I don’t care how much the client wants to save on time—you don’t skip the layers. You need a consistent, well-compacted sub-base, usually MOT Type 1, laid in thin, manageable lifts. If you try to dump six inches of aggregate in and run a plate compactor over the top once, you’re just polishing the surface of a disaster. Get the thickness right, get the compaction tight, and only then are you actually ready to talk about the paving.
Sub Base Preparation Techniques That Actually Hold Weight
Now, let’s talk about what goes under the stones. You can buy the most expensive granite slabs in the world, but if you’re laying them on a bed of loose, uncompacted rubbish, you might as well be paving with crackers. Most lads think they can just dump some MOT Type 1, whack it over with a plate compactor for five minutes, and call it a day. That’s how you end up with a patio that looks like a roller coaster by next spring. You need to be looking at proper sub-base preparation techniques that involve building up in layers—no more than 50mm to 75mm at a time—and compacting each one until it’s solid as a rock.
If you don’t get the compaction right, you’re ignoring the paving layer thickness guidelines that keep the whole structure stable. I’ve seen too many “professionals” skip the heavy vibrating roller because they were running behind schedule. Don’t be that person. If the sub-base isn’t uniform and tight, the weight of the paving will eventually find the soft spot, and that’s where your cracks start. It’s about building a platform, not just throwing dirt in a hole.
The Three Things They Won't Show You in the Brochure
- Stop obsessing over the stone colour and start looking at the mix design. If you’re spec’ing a job and you haven’t specified the compressive strength and the aggregate size, you aren’t spec’ing a job—you’re just guessing. A pretty surface on a weak mix is just a fancy way of wasting money.
- Watch the water like a hawk. I’ve seen too many lads on site think they’re being helpful by adding a splash of water to the truck to make it “workable.” All they’re doing is thinning out the cement paste and inviting shrinkage cracks to move in the moment the sun comes out. If it’s too stiff, change the mix spec before it leaves the plant, don’t fix it with a hose on site.
- Respect the weather or don’t bother pouring. You can have the best sub-base in the world, but if you’re pouring in high winds that’ll suck the moisture out of the surface, or in heat that’ll bake it before it’s set, you’re asking for trouble. Your spec needs to include a plan for curing—whether that’s polythene, curing compounds, or just keeping it damp.
- Plan your joints before you even see a single slab. Every paving job needs a way to breathe and move. If you don’t specify the exact placement and width of your expansion and contraction joints, the ground will decide where they go for you, and it’ll be in a straight line right through the middle of your finish.
- Check the drainage slope before the first bag of sand is even opened. I’ve seen beautiful, expensive paving jobs fail because the contractor was so focused on the level that they forgot about the fall. If the water isn’t moving away from the structure, it’s sitting under your sub-base, softening it up, and eventually, the whole lot will heave.
The Long View
At the end of the day, if you’ve done the work I’ve laid out here, you aren’t just laying stones or pouring a slab; you’re building something that’s meant to stay put. You can’t skip the boring bits—the compaction of the MOT Type 1, the checking of the levels, or the obsession with the sub-base moisture. If you try to save a few hours by cutting corners on the preparation, you aren’t actually saving money; you’re just pre-ordering a repair job for next season. A proper spec means you’ve accounted for the ground, the drainage, and the weather before the first shovel even hits the dirt. If the foundation isn’t right, the rest of it is just expensive decoration.
I’ve spent forty-three years watching people chase the “perfect finish” while ignoring the mess underneath, and I’ve seen more cracks in those pretty surfaces than I care to count. My advice? Stop looking at the brochures and start looking at the soil. Take pride in the parts of the job that nobody will ever see once the project is finished. There is a quiet, honest satisfaction in knowing that even when the frost hits or the heavy rains come, your work isn’t going to budge an inch. Build it right the first time, and you’ll never have to answer the phone to explain why it’s failing. Do it once, do it properly.
Frequently Asked Questions
If my sub-base is solid, how do I know if the concrete mix I'm ordering is actually right for the load it’s going to carry?
You don’t guess; you spec it based on the load. If it’s a garden path, a standard C20 is fine. But if you’re putting a vehicle on it, you better be looking at C35 with a specific aggregate size. Don’t just tell the plant “standard mix”—tell them exactly what’s driving on it. If you don’t know the load, you’re just paying for expensive gravel that’s going to snap under pressure.
What are the red flags I should look for in the weather forecast before I give the green light to start the pour?
Look, if the forecast shows even a hint of a heavy downpour or a frost warning, you bin the pour. I don’t care how much the client is breathing down your neck. Rain during the set washes the cement out of the mix, leaving you with nothing but a surface of useless sand. And if it’s too hot? The water evaporates before the concrete can actually cure, and you’ll be staring at shrinkage cracks by Tuesday.
Once the concrete is down, how do I stop some site hand from adding too much water to the truck just to make it easier to spread?
You can’t stop a lazy hand with words; you stop them with a slump test and a bit of authority. If you see a hose near that chute, you step in. Tell them straight: “That extra water is just a loan you’ll be paying back in cracks later.” Check the consistency yourself. If it’s running like soup, send it back or reject the load. I’ve seen too many “easy” pours turn into expensive nightmares.