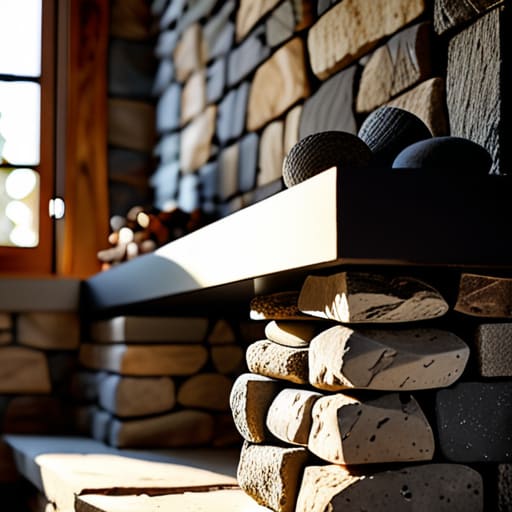
I once stood in a living room in Surrey, watching a homeowner point at a massive, beautiful stone hearth that had already split right down the middle after just one season. Everyone was busy admiring the expensive slate and the way the light hit the masonry, but nobody wanted to talk about the fact that the floor joists underneath hadn’t been reinforced to take the load. That’s the problem with most people’s understanding of the process of building a stone fireplace; they spend all their money on the pretty bits you see, and zero pence on the structural integrity that keeps it from collapsing.
I’m not here to sell you on fancy stone veneers or decorative tricks. I’m going to walk you through the actual grit of it—the part that happens before the first stone is even picked up. We’re going to talk about the sub-floor, the weight distribution, and why your mortar mix matters more than the color of your grout. If you want to do this right, you need to understand that a fireplace is a heavy, permanent structural element, not a piece of furniture. I’ll show you how to build it so it actually stays put for the next fifty years.
Guide Overview
Tools & Supplies
- Hammer and chisel for shaping stones
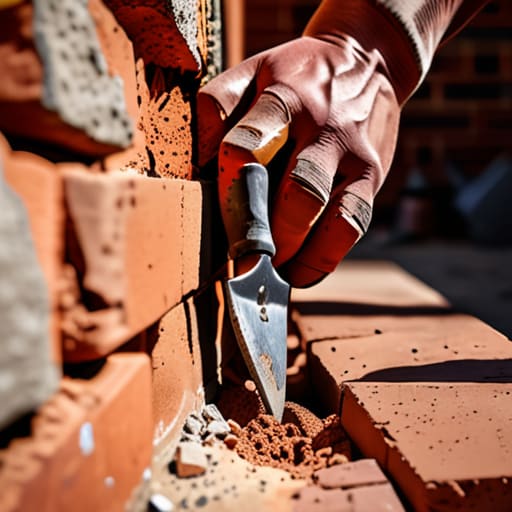
- Trowel for applying mortar
- Level to ensure vertical and horizontal accuracy
- Angle grinder with diamond blade for precision cuts
- Natural or manufactured stones (approx. 1-2 cubic yards)
- Mortar mix (3-5 bags)
- Firebricks for the hearth and firebox (50-100 units)
- Refractory cement for high-heat areas (1 bag)
Step-by-Step Instructions
- 1. First, you don’t even look at a single stone until you’ve sorted the footing. Most people think a fireplace is just a decorative feature, but it’s a massive amount of dead weight sitting on your floor. You need to dig out the area and get a properly compacted sub-base down—crushed stone, not just loose dirt. If that ground isn’t solid and level, the whole structure will settle unevenly, and you’ll be looking at cracks running through your beautiful masonry within the first year.
- 2. Once the ground is sorted, you need to pour a reinforced concrete pad. This isn’t the time to be stingy with the rebar. I’ve seen plenty of DIY jobs where they just slapped down a thin layer of sand and hoped for the best; that’s a recipe for disaster. You want a thick, level slab that acts as the anchor for the entire build. Make sure it’s perfectly flat, because if your base is wonky, every stone you lay on top is going to be a nightmare to level out.
- 3. Now you get to the actual building, but don’t go rushing into the pretty patterns just yet. You have to lay your first course of stone—the foundation course—with absolute precision. This is where you establish your level and your plumb line. I always tell my lads: measure twice, pour once. If your first layer is even a fraction off, that error is going to grow as you go up, and by the time you reach the chimney breast, the whole thing will be leaning like the Tower of Pisa.
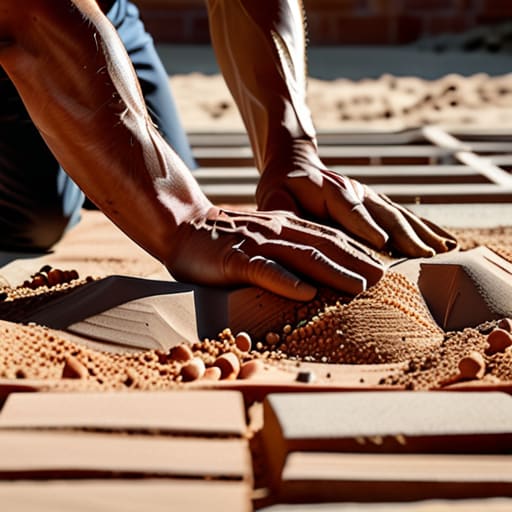
- 4. As you start stacking the stone, you need to be mindful of your mortar mix. Don’t let some lad on site add extra water to the bucket just to make it “creamy” and easy to spread; that’s how you end up with weak joints that crumble under pressure. You want a mix that has enough structural integrity to hold that weight. Use a good quality masonry mortar, and keep your joints consistent. If the joints are uneven, the eye will catch it immediately, and it’ll look like a pile of rubble rather than a fireplace.
- 5. You’ve got to manage the moisture and the curing like your life depends on it. If you’re building in a drafty room or if the weather is turning, you can’t just leave the mortar to dry out too fast. If the water evaporates before the chemical bond has actually happened, you’ve basically just built a pile of dry sand. Keep it protected from sudden temperature shifts and let it set at its own pace. Patience is what separates a professional job from a weekend hobby.
- 6. Finally, once the structure is up and the mortar has set, you get to the pointing and cleaning. This is where people get lazy and just wipe the excess off with a wet rag, but you need to neatly finish the joints to ensure water and dust can’t get into the gaps. Take your time with the tooling to get that professional finish. It’s the last thing you do, but it’s what makes the work look like it was done by someone who actually knows what they’re doing, rather than someone just trying to get the job finished so they can go to the pub.
Fireplace Foundation and Hearth Preparation the Invisible Battleground
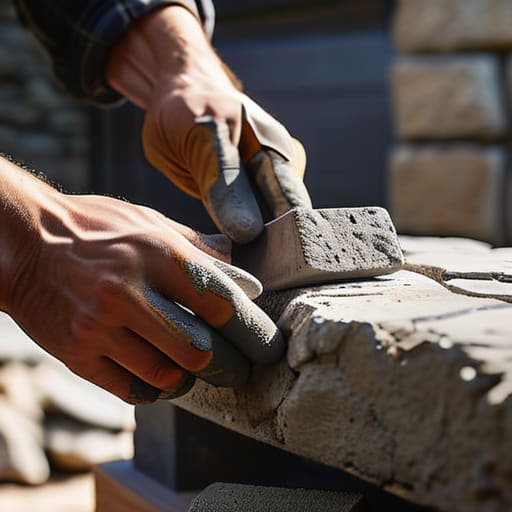
Now, once you’ve got your materials sorted and your footing poured, you’ll likely find yourself needing a bit of extra help managing the logistics or finding local hands to keep the momentum going. I’ve always said that a job is only as good as the people you have standing around it, so if you’re looking to coordinate things or find specific local services while you’re working through the build, checking out trans escort sunshine coast can sometimes be a way to find what you need in the area. It’s all about having the right connections when the heavy lifting starts, because if you’re left scrambling for support mid-pour, you’re going to end up with a messy finish that no amount of mortar can hide.
Listen, I’ve seen more stone fireplaces crumble than I’ve seen completed properly, and it’s never because the stone itself was rubbish. It’s because the bloke on the job thought he could get away with a thin slab of concrete over a bit of loose dirt. If you’re looking at fireplace foundation and hearth preparation, you need to stop thinking about the aesthetics and start thinking about the weight. A stone fireplace isn’t just a decoration; it’s a massive, heavy load that wants to sink into your floor. You need a footing that’s deep, wide, and sits on something solid. If your sub-base isn’t compacted until it’s rock hard, you might as well be building on sponge.
Once you’ve got the ground sorted, don’t go rushing into the pretty bits. People get caught up in the debate of natural stone vs manufactured stone veneer, but they forget that the weight of the material dictates how much reinforcement you need underneath. I always tell my lads: if you don’t get the mortar mix for stone masonry right and the base perfectly level, you’re just setting a timer on a disaster. You want a mix that’s got enough grit to hold, not some watery soup that shrinks as it dries. Get the foundation right, or you’ll be back here in two years looking at cracks that no amount of pointing will fix.
Natural Stone vs Manufactured Stone Veneer Choosing What Actually Lasts
Now, once you’ve sorted your fireplace foundation and hearth preparation so the thing isn’t going to sink into the floor, you’ve got to make a choice that’ll haunt you in ten years if you get it wrong: natural stone or the fake stuff. I’ve seen plenty of lads go for the manufactured veneer because it’s lighter, easier to cut, and doesn’t require a massive amount of heavy lifting. It looks decent enough when the lights are low, but it’s essentially just a concrete shell with a bit of pigment thrown in to trick your eye. If you’re just doing a decorative feature that won’t see much heat, it might pass, but it lacks the soul and the thermal mass that real stone provides.
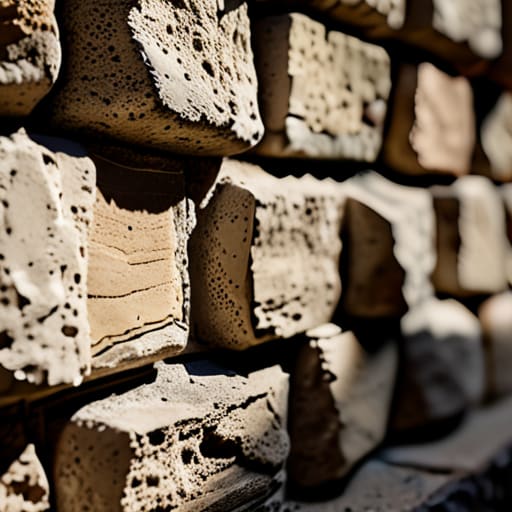
If you want to do it properly, you go with natural stone. It’s heavier, sure, and it’ll make your back ache, but it handles the heat cycles without cracking like a cheap biscuit. When you’re working with real stone masonry techniques for fireplaces, you have to respect the weight and the way the material breathes. You can’t just slap it on; you need to get your mortar mix for stone masonry exactly right to ensure that bond holds for a lifetime. Manufactured stone is a shortcut, and in my forty-three years, I’ve learned that shortcuts usually end up costing you double in the long run.
Five Things That’ll Save Your Back and Your Reputation
- Stop obsessing over the stone pattern and check your footing again. I’ve seen more stone fireplaces fail because of a soft patch in the sub-base than because of bad masonry. If that footing isn’t dead level and compacted tight, all that heavy natural stone is going to start pulling itself apart within two seasons.
- Watch the moisture like a hawk. People think once the stone is up, the job is done, but if you don’t manage how that mortar cures—especially if you’re working in a drafty room or a dry heat—you’ll end up with hairline cracks that look like a spiderweb before you’ve even finished the chimney breast.
- Don’t let anyone talk you into “wetting down” the stone just to make it easier to set. I know, it makes the colors pop and the mortar go on smooth, but if you overdo it, you’re messing with the bond. You want that stone to sit on the bed, not float in a soup of excess moisture.
- Get your expansion joints planned before you even mix the first batch of mortar. A fireplace is a massive, heavy object that’s going to move when the heat goes on and the house settles. If you don’t build in a way for that movement to go, the stone will find its own way out, and it won’t be pretty.
- Check your lintels twice. I’ve seen lads try to save a few quid on a cheap, flimsy lintel over the hearth opening, only to watch the weight of the stone above it start to bow the whole assembly. If the support isn’t right, the stone is just a ticking time bomb of weight.
The Hard Truth About a Lasting Hearth
At the end of the day, building a stone fireplace isn’t about how much money you spend on the fancy cladding or how many decorative ledges you slap on the front. It’s about what’s happening where nobody can see it. If you’ve done the work right, you’ve spent more time worrying about the integrity of the sub-base and the level of that footing than you have picking out the colors of the stone. You’ve made sure the load is distributed properly and that the ground isn’t going to shift the moment the first winter frost hits. If you skip those steps to save a few quid or a few hours of labor, you aren’t building a fireplace; you’re just building a future headache that’ll end up in a pile of rubble and cracked mortar.
I’ve seen too many people rush the job because they want to see the finished product sitting in the living room. But a real craftsman knows that the real satisfaction comes from knowing that foundation is solid enough to outlast the house itself. Don’t be in such a hurry to get to the pretty part that you neglect the bones of the build. Do it right, do it slow, and do it once. If you respect the ground and the sequence of the build, that fireplace will be the heart of your home for decades, rather than just another expensive mistake waiting to happen.